.CNhas5IL_ZqBJiz.webp)


Mastering Anamorphic Content Creation

Anamorphic content has become a captivating medium in the world of digital displays and experiential marketing. From giant LED billboards to immersive event installations, anamorphic visuals create a sense of depth and realism that can mesmerize audiences. However, creating effective anamorphic content is a complex process that requires meticulous planning, precise execution, and a deep understanding of perspective and scaling.
Now let’s delve into the principles behind it, the steps involved in crafting high-quality anamorphic visuals, the tools and software used, and the technical considerations essential for delivering results.

What is Anamorphic Content?
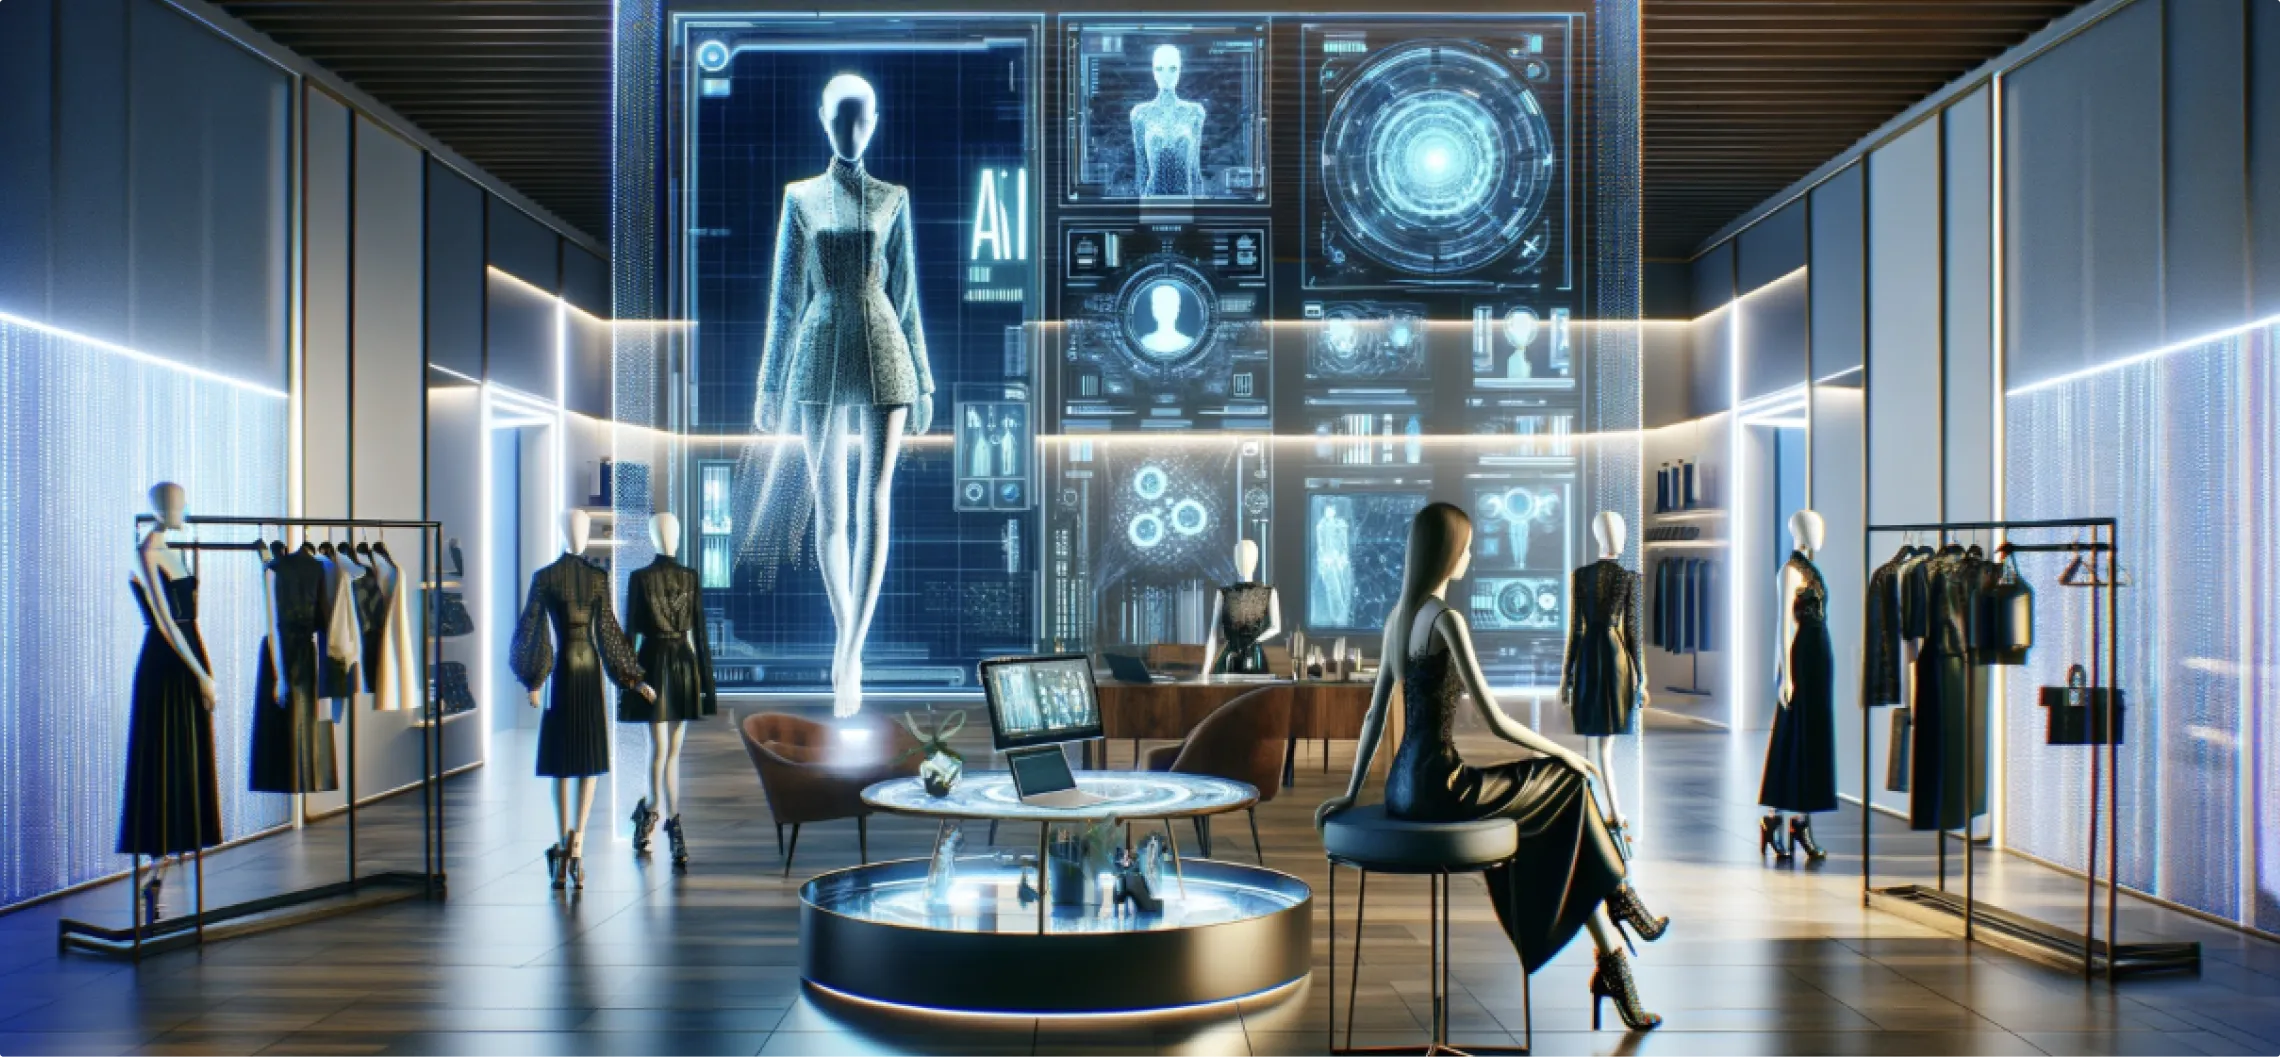
Anamorphic content is a type of visual media that uses forced perspective to create an illusion of depth and three-dimensionality on a two-dimensional surface. By distorting the image in a specific way, it appears normal and proportionate when viewed from a particular vantage point. This technique tricks the eye into perceiving a flat image as a dynamic, lifelike scene.
Applications of Anamorphic Content
Digital Billboards and LED Displays: Large-scale outdoor advertising that captures attention.
Event Installations: Immersive environments at trade shows, concerts, and exhibitions.
Architectural Projections: Transforming building facades into dynamic canvases.
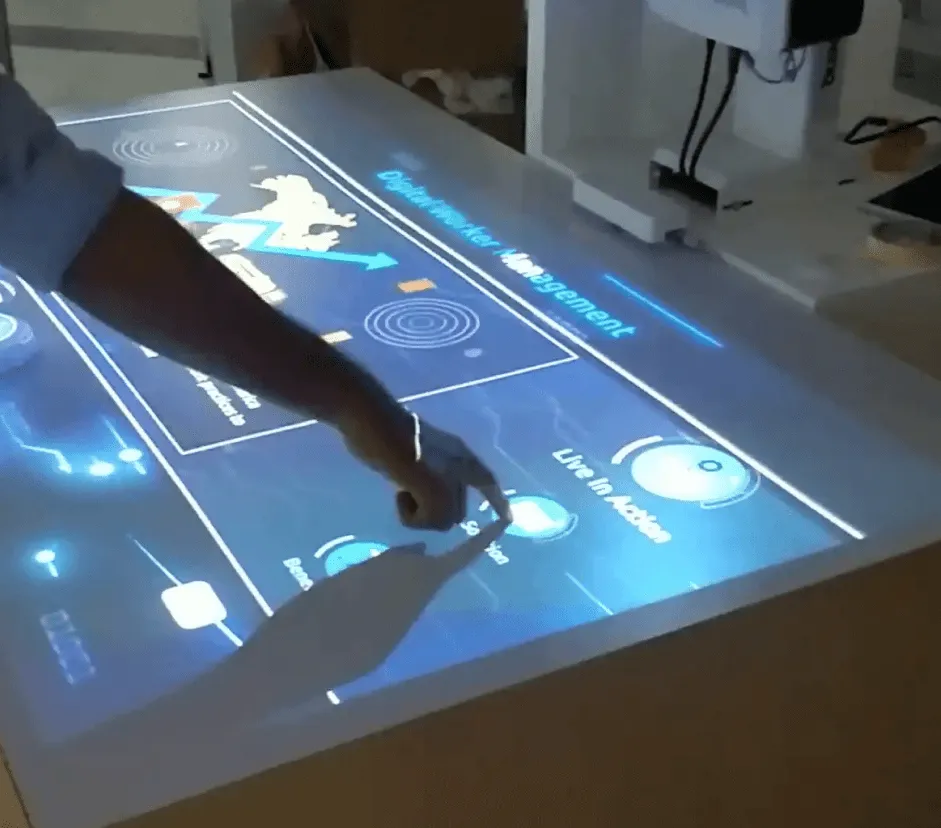
Interactive Art: Street art and installations that engage viewers from specific angles.

Understanding the Challenges
While anamorphic content can be visually stunning, it's not suitable for every situation. Factors like size, scale, and viewing distance play a critical role in its effectiveness. If any element is misaligned, the illusion breaks, rendering the content ineffective.
Common Pitfalls
Incorrect Scaling: Misjudging the proportions can distort the image.
Poor Camera Placement: Using inappropriate lens focal lengths can ruin the perspective.
Ignoring Depth Perception: Overextending the depth can make the content look unnatural.
Content Overlapping Stitch Lines: Placing key visuals on screen edges can disrupt the seamless appearance.
Steps to Create Effective Anamorphic Content
Creating anamorphic content involves a series of meticulous steps to ensure the illusion works perfectly from the intended viewing angle.
1. Replicate the Anamorphic Space in 3D
To-Scale Modeling: Begin by recreating the physical space in a 3D modeling software, ensuring all dimensions are accurate.
Human Reference for Scale: Insert a human figure model to serve as a reference point for scaling and perspective.
Object Placement: Start placing objects within the environment, considering how they'll appear from the viewer's perspective.
Gridline Creation: Establish gridlines forward and backward to visualize depth and assist in aligning content.
2. Camera Placement and Calibration
Optimal Lens Selection: Use a 30mm or 35mm lens for the virtual camera, mirroring the natural human field of view.
Viewer's Vantage Point: Position the CGI camera exactly where the audience will stand. This ensures the perspective aligns perfectly when viewed from that spot.
Avoid Wide-Angle Lenses: Lenses below 30mm can cause stretching and distortions, breaking the anamorphic effect.
Reverse Engineering: If necessary, adjust the physical setup or modify the set design to accommodate the optimal camera placement.

3. Managing Depth Perception
Limit Depth Extension: For spaces around 30 feet deep, limit the anamorphic effect to 7-8 feet forward and backward. Overextending can make the content appear unnatural.
Consistent Depth Cues: Ensure that objects maintain consistent scaling and spacing to reinforce the depth illusion.
Left and Right Eye Perspectives: Check the content from multiple angles to ensure the effect holds up as viewers move slightly.

4. Content Placement and Stitch Lines
Avoid Edges: Keep key visuals and text away from the edges of the display where stitch lines may occur.
Seamless Integration: Design content that flows naturally across panels without noticeable breaks.
Testing: Conduct thorough tests to identify any misalignments or disruptions caused by stitch lines.
5. Enhancing Immersion with Floor Animations
Extending the Experience: Incorporate floor displays to add another dimension to the experience.
Guiding Movement: Use animations to direct viewer attention or movement within the space.
Creating Atmosphere: Floor content can amplify the sense of awe and make the environment more engaging.
6. Utilizing Gridlines for Calibration
Render in Multiple Perspectives: Export the content in isometric views and create gridlines to assist with mapping.
Calibrate to Pixel Ratios: Use the gridlines to align the content precisely with the LED panels' pixel dimensions.
Undistort and Flatten: Prepare the content in flat perspectives for each plane (left, right, floor), ensuring accurate reproduction on the displays.
Resolution Mapping: Start with mapping the exact resolutions of each display surface to maintain image clarity.

Technical Considerations and Tools
Creating anamorphic content requires a combination of hardware and software tools.
1. 3D Modeling and Animation Software
Autodesk Maya: A tool for 3D modeling, animation, and rendering.
Blender: An open-source alternative offering modeling and animation capabilities.
Cinema 4D: Known for its user-friendly interface and powerful rendering features.
3ds Max: Ideal for modeling complex structures and environments.
2. Rendering Engines
V-Ray: Provides high-quality photorealistic rendering with advanced lighting and shading options.
Octane Render: GPU-accelerated renderer known for speed and realism.
Redshift: Offers fast rendering times suitable for heavy scenes.
3. Compositing and Post-Production Software
Adobe After Effects: Used for compositing, motion graphics, and adding visual effects.
Nuke: A node-based compositing application suitable for complex workflows.
Fusion: Integrated into DaVinci Resolve, useful for high-end compositing tasks.
4. Content Mapping and Calibration Tools
MadMapper: Facilitates projection mapping and LED mapping with real-time previews.
Resolume Arena: A VJ software that can be used for mapping and live playback.
TouchDesigner: A node-based visual programming language for real-time interactive multimedia content.

5. Hardware Requirements
High-Performance Workstations: Equipped with powerful GPUs (like NVIDIA RTX series) for rendering.
LED Displays and Controllers: Understanding the specifications of the LED panels is crucial for accurate content mapping.
Calibration Devices: Tools like colorimeters ensure consistent color and brightness across displays.
6. Workflow and Best Practices
Scale Precision: Always double-check measurements and scales within your 3D environment.
Consistent File Formats: Use high-resolution textures and maintain consistent file types to avoid compatibility issues.
The Importance of Perspective and Scale
Anamorphic content relies heavily on the viewer's perspective. Miscalculations in scale or camera positioning can completely break the illusion.
Human Field of View and Lens Selection
35mm Lens Equivalent: The human eye perceives the world similarly to a 35mm camera lens, making it the ideal choice for anamorphic content.
Avoid Wide-Angle Distortion: Lenses with focal lengths below 30mm can introduce distortion, causing the content to appear stretched or skewed.
Camera Matching: Aligning the virtual camera's position and settings with where the viewer will stand ensures the content appears as intended.

Depth Perception Management
Psychological Comfort: Overwhelming the viewer with too much depth can cause discomfort or disorientation.
Balanced Composition: Keep foreground and background elements within reasonable distances to maintain a natural appearance.
Dynamic Movement: If incorporating animation, ensure that movement respects the depth boundaries to avoid breaking the illusion.

Avoiding Common Mistakes
Anamorphic content creation is fraught with potential pitfalls:
1. Ignoring Viewing Angles
Always design content with the primary viewing angle in mind, but consider slight variations as people rarely stand perfectly still.
2. Inadequate Testing
Test the content extensively on the actual display hardware and make adjustments as necessary.
3. Overcomplicating the Scene
Simplicity often enhances clarity. Focus on key elements that deliver the desired impact without cluttering the scene.
4. Misalignment with LED Panels
Pay close attention to the pixel pitch and dimensions of the LED panels to ensure content aligns perfectly.
Conclusion
Anamorphic content creation demands a deep understanding of visual perception, technical expertise with 3D modeling and rendering tools, and meticulous attention to detail. When executed correctly, it can create unforgettable experiences that captivate audiences and elevate brand messaging.
About the Author

Marketing Manager
MORE FROM OUR CREATIVE MIND
 Get Everyone's Attention With These Amazing Experiences
 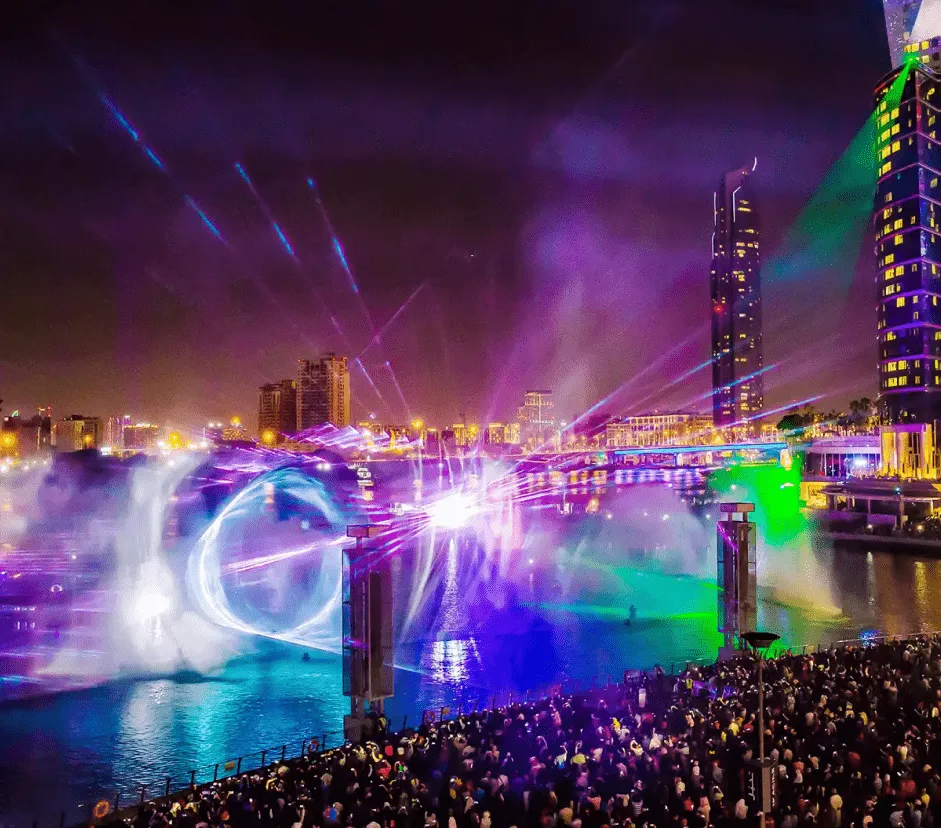 Is 3D Projection Mapping The Future Or The Present?
 About the Author
Marketing Manager
MORE FROM OUR CREATIVE MIND
Get Everyone's Attention With These Amazing Experiences Is 3D Projection Mapping The Future Or The Present? 

Contact Us Now: